Watercolor Painting for Beginners: A Step-by-Step Guide to Unlock Your Creativity

Watercolor Painting for Beginners

Amazon.com do great starter art kits – everything you need to get started in one bundle. Click here to view.

Watercolor painting has a timeless charm that attracts artists of all skill levels. For those just starting out, it might feel a little daunting, but the beauty of watercolour is in its fluidity and unpredictability.

With the right guidance, beginner water color paintings can quickly transform from simple experiments to beautiful works of art.

Whether you’re looking to explore water color art for beginners as a hobby or as a serious creative pursuit, this guide will help you learn watercolor painting in an approachable, step-by-step way.

Why Choose Watercolour Painting?

Watercolor painting offers a unique experience compared to other mediums. Its transparent layers and the way colours blend seamlessly give artworks a light, almost magical quality.

For beginners, it’s an especially rewarding medium because even simple techniques can produce stunning results. Plus, watercolors are relatively affordable and easy to set up, making them perfect for those just starting their creative journey.

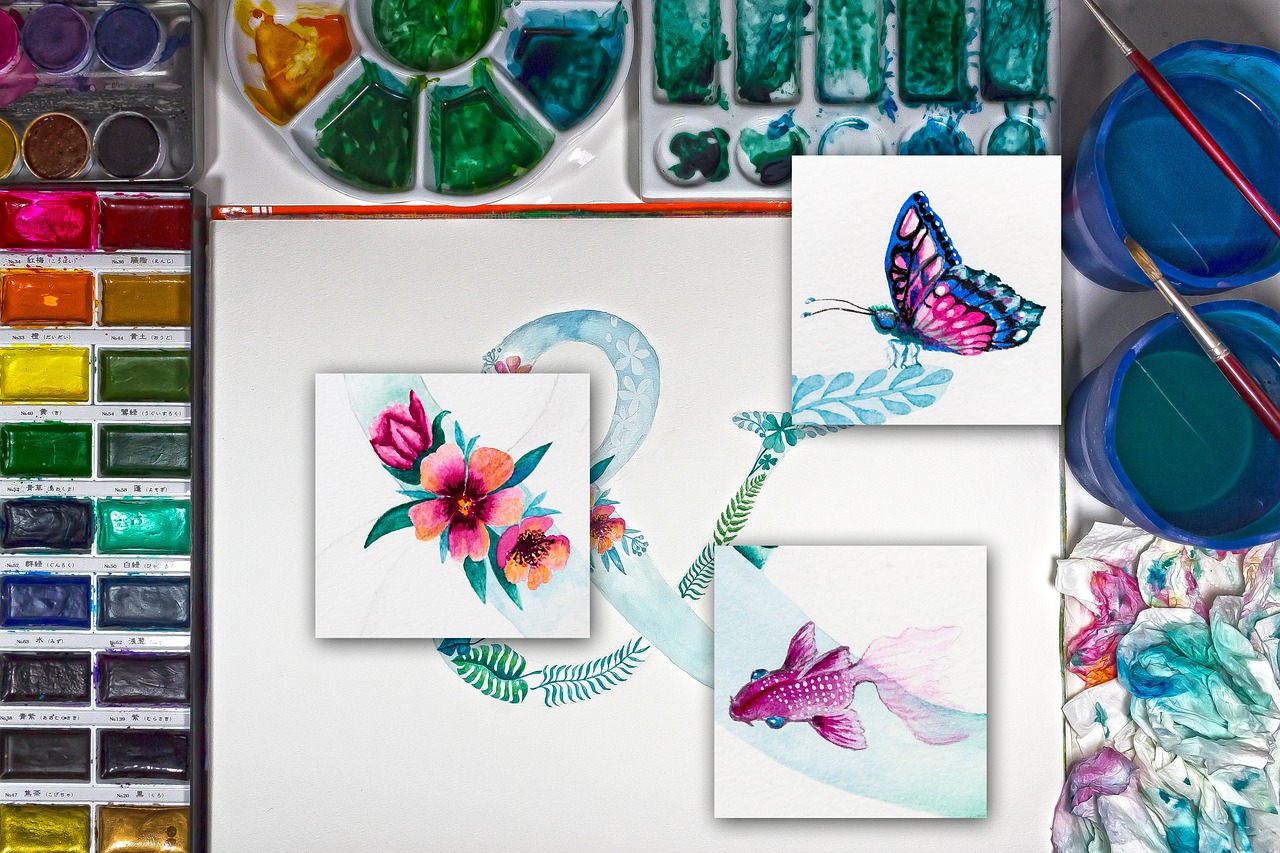
If you’ve always admired delicate floral paintings, soft landscapes, or expressive abstract art, you’ll be pleased to know that water color art for beginners covers all these styles and more.

(Painting in Watercolor: The Indispensable Guide)

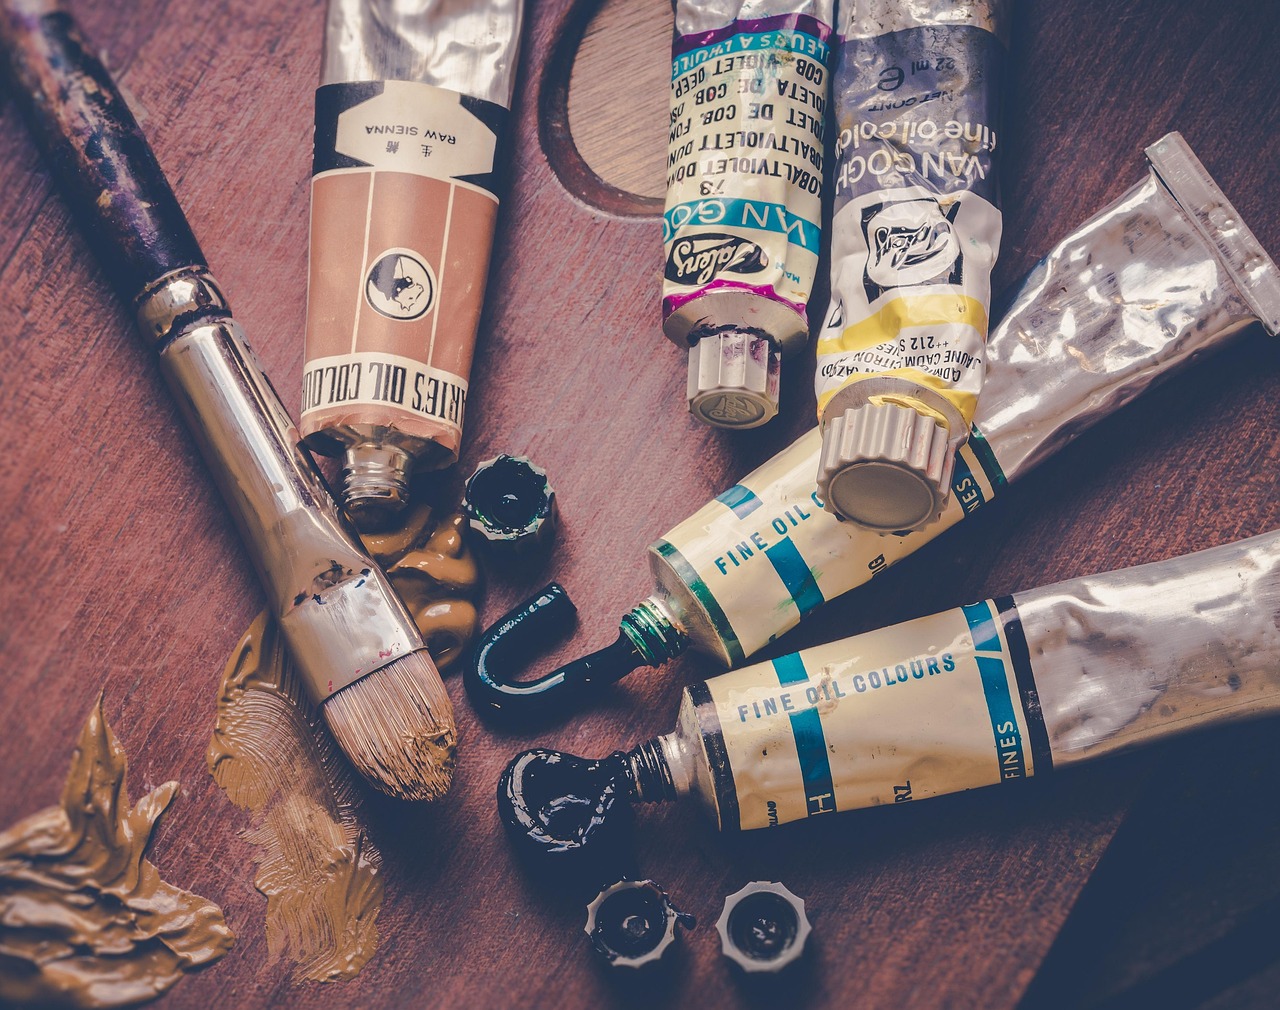
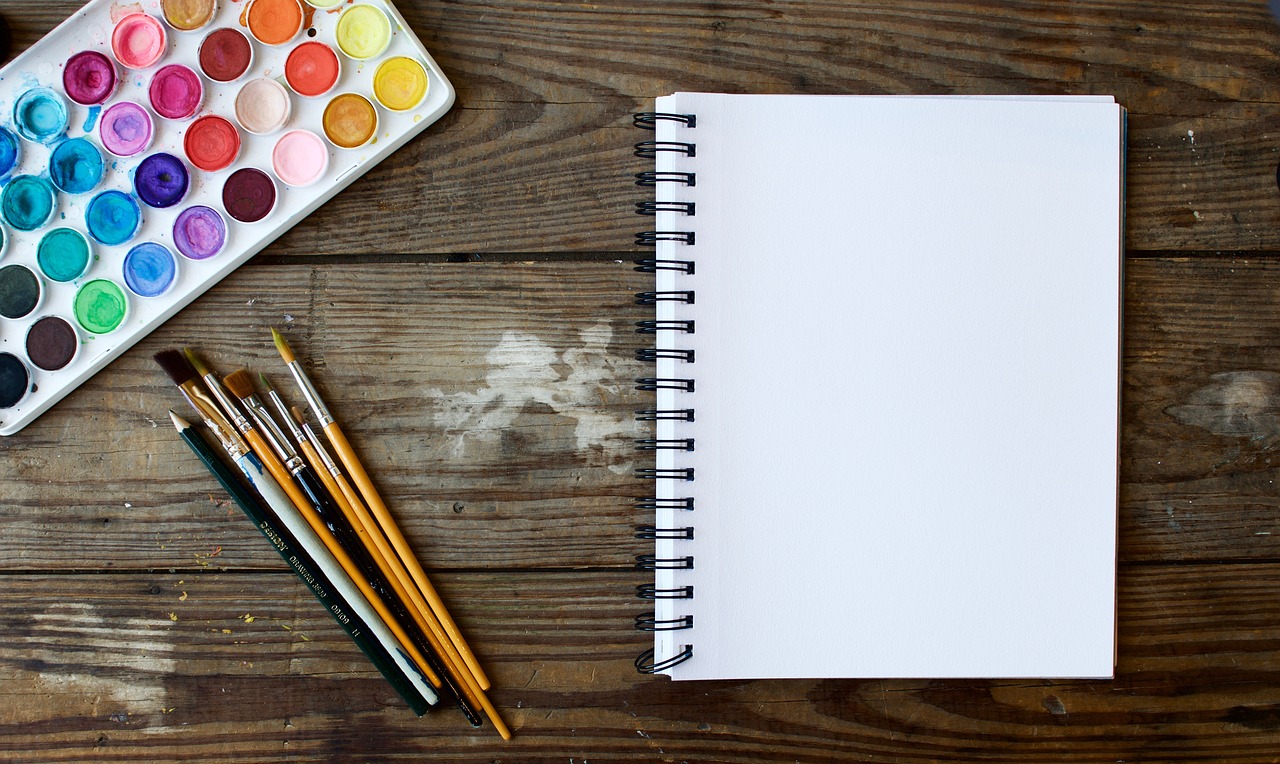
Materials You’ll Need to Get Started

Before diving into watercolor painting for beginners step by step, it’s important to gather the basic supplies:

  • Watercolor Paints: Start with a simple set of primary colours (red, yellow, and blue). You can mix these to create a wide range of hues.
  • Brushes: Invest in a few round brushes of different sizes. These are versatile and ideal for both broad washes and fine details.
  • Watercolor Paper: Use thick, textured paper specifically designed for watercolors. Regular paper will buckle and tear when wet.
  • Palette and Water Jars: A palette for mixing colours and at least two jars of clean water—one for rinsing and one for clean washes.

Having these essentials on hand will ensure you’re ready to follow along and enjoy your learning process.

(168 Colors Premium Watercolor Paint Set, Equipped with Detail Paint Brush, Art Supplies, for Artists& Paiting Lovers)

Watercolor Painting for Beginners Step by Step

Now let’s walk through some simple steps to create your first beginner water color paintings.

Step 1: Start with Basic Washes

Practice flat washes by loading your brush with diluted paint and applying it evenly across the paper. Then try a gradient wash, where you gradually add more water as you move down the page. These exercises help you understand paint flow and brush control.

Step 2: Explore Wet-on-Wet and Wet-on-Dry Techniques

In wet-on-wet, you apply paint to damp paper, which causes the colours to spread and blend naturally. It’s great for backgrounds or dreamy effects. In wet-on-dry, you paint on dry paper for sharper, more defined edges. Practising both will add variety to your beginner water color paintings.

Step 3: Experiment with Colour Mixing

One of the joys of watercolor painting is discovering new colours by mixing your paints. Try blending two primary colors to see what secondary shades you can create. This will enhance your understanding of color theory and give you a more vibrant palette.

Step 4: Add Simple Details

Once your base layers are dry, use a smaller brush to add details. Even in water color art for beginners, small touches like leaves on trees or veins in petals can bring your painting to life.

Step 5: Learn to Layer

Layering involves painting one color, letting it dry, and then adding another layer on top. This technique adds depth and dimension to your work, transforming flat images into dynamic compositions.

(The Figure in Watercolor: Simple, Fast, and Focused)

Tips for Success

  • Be Patient: Watercolor requires drying time between layers. Rushing can lead to muddy colours.
  • Embrace Mistakes: Some of the most beautiful effects in watercolor come from happy accidents. Let the paint flow!
  • Practice Regularly: Like any skill, consistency is key. Set aside a little time each week to practise.

Watercolor painting for beginners step by step is a journey filled with discovery and joy. With simple tools and a willingness to experiment, anyone can enjoy the relaxing and rewarding process of creating art. Whether you’re aiming to create peaceful landscapes, colourful abstracts, or delicate florals, beginner water color paintings offer endless opportunities to express yourself.

Remember, water color art for beginners doesn’t have to be perfect. Focus on enjoying the process and celebrating each small success along the way.

As you continue to learn watercolor painting, you’ll not only improve your skills but also find a deeper appreciation for the beauty of this enchanting medium.

So grab your brushes, mix your colours, and let your creativity flow freely on the page!

Amazon.com do great starter art kits – everything you need to get started in one bundle. Click here to view.

Oil Painting for Beginners: A Guide to Getting Started

Oil Painting for Beginners
Oil Painting for beginners

Amazon.com do great starter art kits – everything you need to get started in one bundle. Click here to view.

Oil painting is a timeless art form that has captivated artists for centuries. Its rich textures, vibrant colors, and versatility make it a popular choice for both amateur and professional artists.

If you’re new to the world of oil painting, it may seem daunting at first, but with the right approach, you can quickly grasp the basics and start creating beautiful artworks.

(Click Watercolor Painting for beginners for information on watercolor painting)

Let’s explore oil painting basics, how to learn oil painting, and we’ll provide tips for beginner oil pastel enthusiasts looking to transition to oil paints.

Understanding Oil Painting Basics

Oil painting is a medium that involves mixing pigments with oil, typically linseed oil, to create a paint that is rich in color and texture. The flexibility of oil paint allows you to work slowly, blending colors and building layers for detailed, luminous results.

One of the key benefits of oil painting is its slow drying time, which allows artists to make adjustments to their work even after hours or days of painting. This characteristic makes it ideal for artists who want to blend colors seamlessly or build up layers of paint gradually.

The oil painting process generally involves starting with an underpainting (a monochromatic sketch), followed by layering color from dark to light.

A technique called “fat over lean” is also essential in oil painting, meaning that each successive layer of paint should have more oil content to ensure proper drying and to avoid cracking.

(The Oil Painting Course You’ve Always Wanted: Guided Lessons for Beginners and Experienced Artists)

Choosing the Right Supplies for Beginners

If you’re just getting started with oil painting, having the right tools is essential. Here’s a list of basic supplies you’ll need for your first few projects:

  • Oil Paints: Start with a basic set of oil paints that includes primary colors (red, yellow, blue), along with white and black. These will allow you to mix a wide range of colors.
  • Brushes: You’ll need a variety of brushes, both flat and round, to work with different techniques. Synthetic brushes are a good starting point for beginners.
  • Canvas or Panel: You can choose between stretched canvas or canvas panels. For beginners, pre-stretched canvases are convenient and affordable.
  • Palette: A palette (usually a glass or wooden surface) is where you’ll mix your paints. A disposable palette pad is also an option for easy cleanup.
  • Solvents and Mediums: Turpentine or odorless mineral spirits will help thin the paint and clean brushes. Additionally, an oil painting medium (such as linseed oil) will help with paint consistency and drying time.
  • Rags or Paper Towels: These are necessary for wiping brushes and cleaning up spills.

(The Oil Painter’s Color Handbook: A Contemporary Guide to Color Mixing, Pigments, Palettes, and Harmony)

Learn Oil Painting: Getting Started

When learning oil painting, it’s important to take a step-by-step approach. Start by experimenting with basic techniques before moving on to more complex compositions. Here are a few tips for beginners:

  1. Start with Simple Subjects: As a beginner, it’s best to focus on simple still life setups or basic landscapes. These subjects provide an excellent opportunity to practice essential skills like mixing colors, creating value (light and dark), and mastering brushwork.
  2. Master Color Mixing: Oil painting allows for a wide range of colors, but knowing how to mix them properly is crucial. Start by learning how to mix primary colors to create secondary ones and understand how to create different values and shades of colors.
  3. Layering and Blending: Oil paint is great for blending because of its slow drying time. To create smooth transitions between colors, practice blending colors directly on the canvas. This can be especially useful in portraiture or landscapes.
  4. Use the Fat Over Lean Rule: One of the most important oil painting basics is the “fat over lean” rule. When painting in layers, make sure each new layer has more oil in it than the previous one. This ensures that your painting will dry properly and prevent cracking.
  5. Experiment with Brushwork: There’s no right or wrong way to hold a paintbrush. Experiment with different brushstrokes—whether it’s long, smooth strokes or short, choppy ones—and see how it affects the texture and appearance of your painting.

Beginner Oil Pastel Artists: Transitioning to Oil Paint

If you’re already familiar with beginner oil pastels, you may find that transitioning to oil paints is relatively easy. Both mediums share similarities in texture and blending abilities, but oil paints offer more flexibility and depth in their application.

However, there are a few key differences you’ll want to keep in mind when making the switch:

  1. Oil Paints Are Thinner: Unlike oil pastels, which can be applied directly from the stick, oil paints must be thinned with solvents or mixed with mediums for consistency. Be prepared to work with these additional materials to achieve the right texture.
  2. Layering: While oil pastels allow for layering, oil paints offer even more control over the thickness and smoothness of each layer. You’ll be able to build up a painting with more precision.
  3. Drying Time: Oil pastels don’t dry in the same way as oil paints, which dry slowly and may require days or even weeks to fully cure. Keep this in mind when working with oil paints, as it will affect how you approach your painting sessions.

(The Oil Painting Course You’ve Always Wanted: Guided Lessons for Beginners and Experienced Artists)

Oil Painting Made Easy: Practice and Patience

One of the most important things to remember when learning oil painting is that practice is key. Don’t be discouraged by early mistakes or imperfections—each painting will teach you something new. Whether you’re experimenting with oil pastel techniques or diving into more complex oil painting projects, take your time, enjoy the process, and be patient with yourself as you develop your skills.

Remember, there’s no rush to create a masterpiece right away. By focusing on the oil painting basics and gradually building your knowledge and technique, you’ll find that oil painting is not only enjoyable but deeply rewarding.

In conclusion, oil painting is a fantastic medium for both beginners and experienced artists alike. By understanding the basic materials, techniques, and working through challenges, you’ll soon be on your way to creating your own beautiful works of art. So, grab your brushes and start your oil painting journey today!

Amazon.com do great starter art kits – everything you need to get started in one bundle. Click here to view.